


Those who were reading my blog this time last year will know that we had a wall Christmas Tree from Ikea…it looked good, but was very heavy to hang.
So this year, I decided to go with something different, but still wanted to stick with the concept of having it on the wall.
A quick search on Google led me to Treekandi…..Christmas trees that are decals made from modern, non toxic wallpaper that is re-positional, removable AND reusable!
Melissa Milligan from Well Sorted Home Styling is behind the concept of this stress-free, eco-friendly Christmas tree alternative….and they are produced and printed right here in Melbourne.
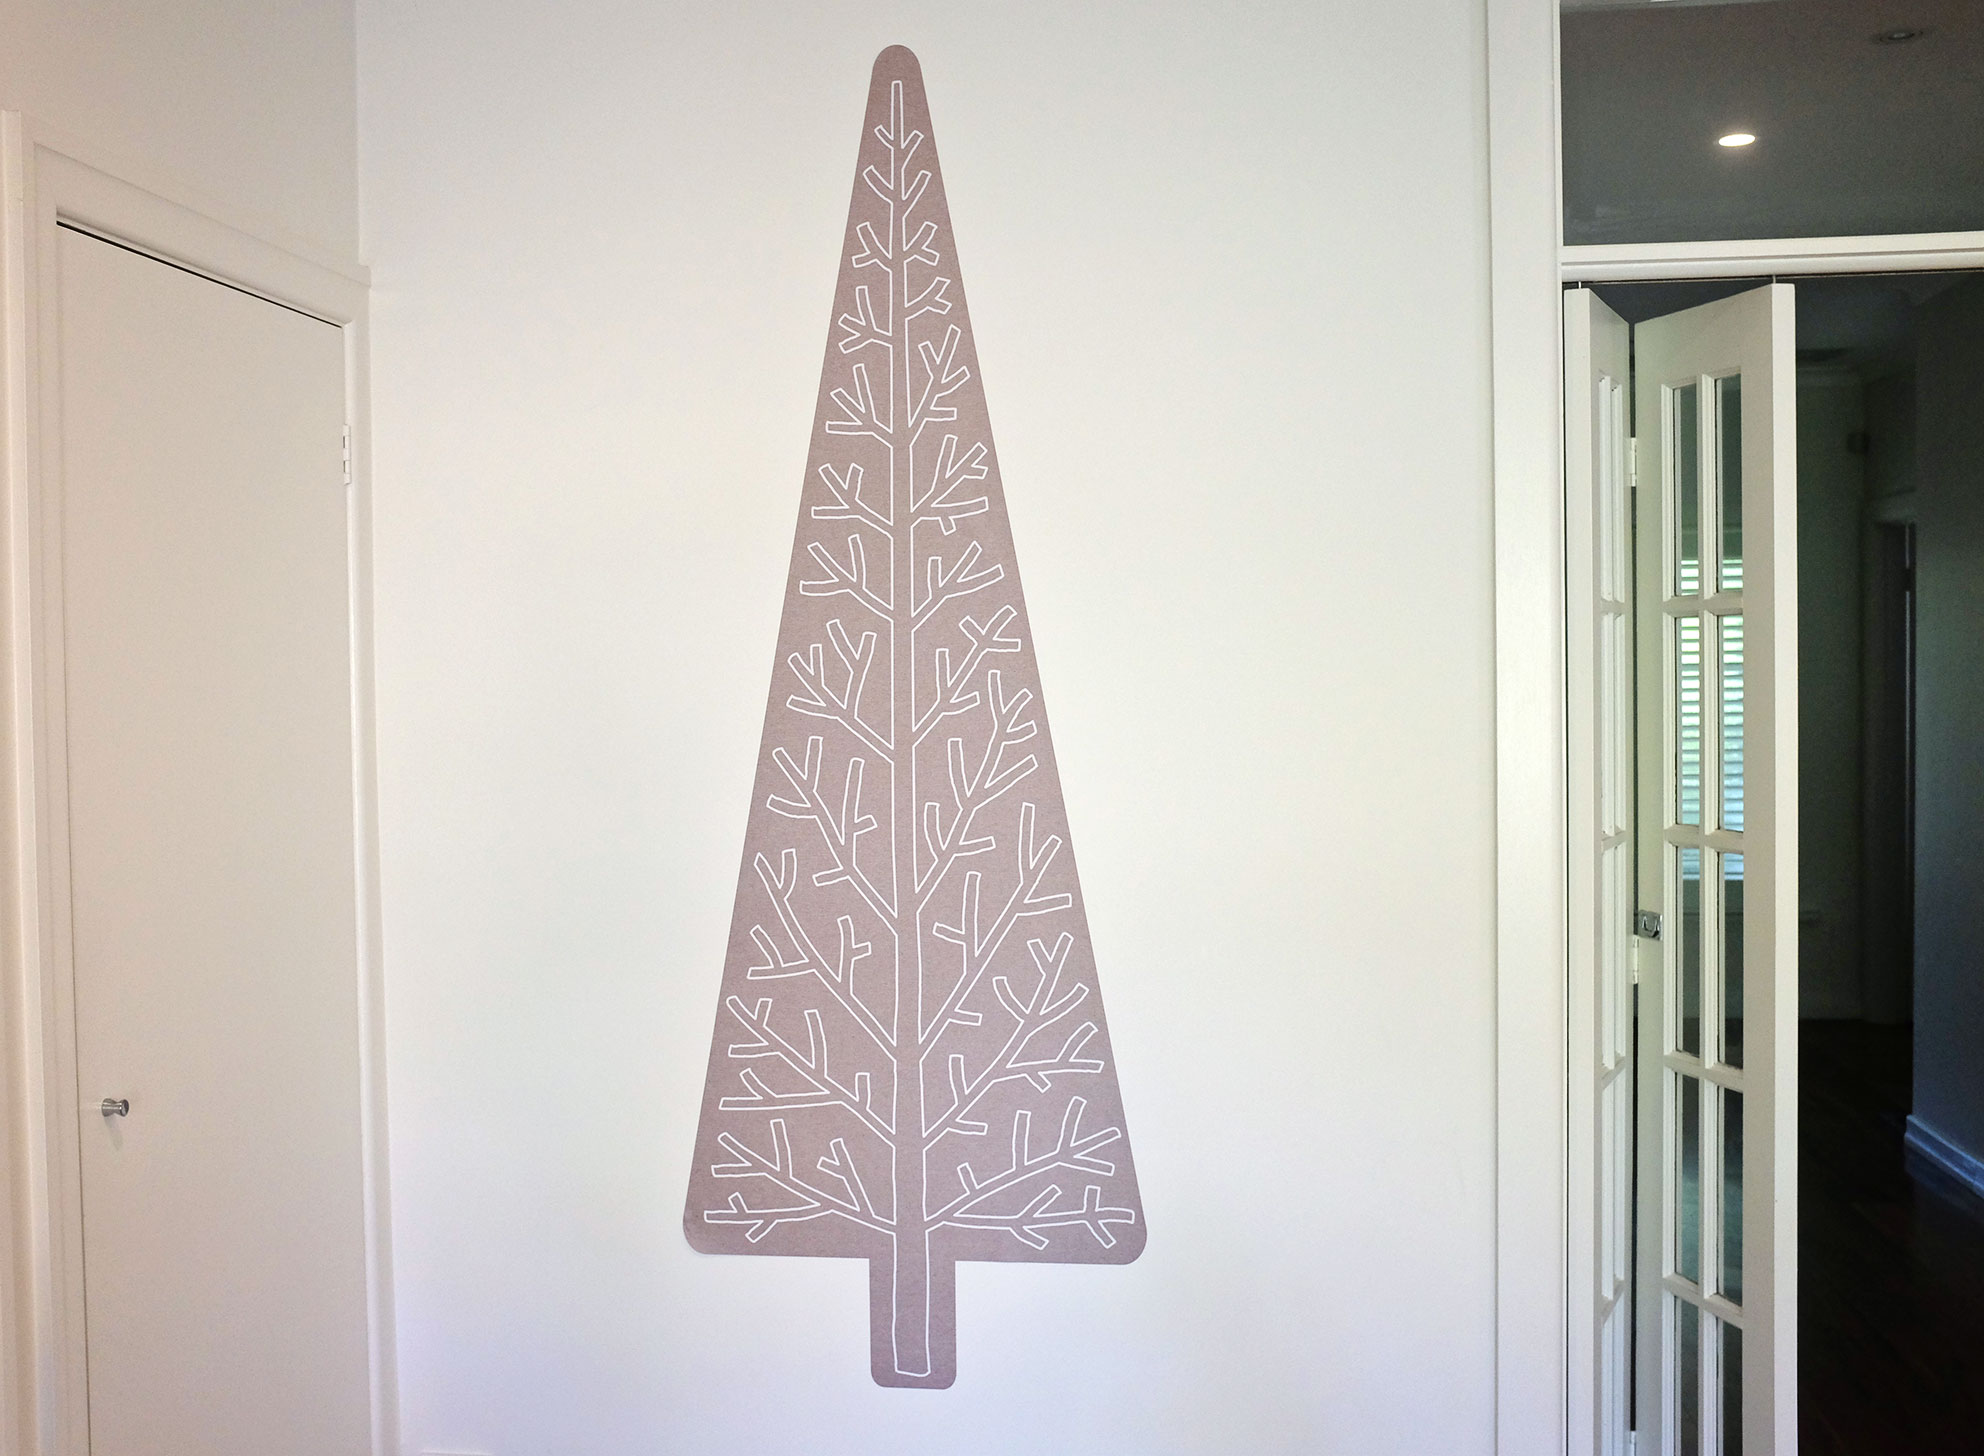
I chose the Skandi Treekandi, which has Scandinavian look to it with a fawn background and white outlined tree…..and it is actually 3D as it comes with baubles and battery operated fairy lights!
In the box is a test piece of the decal so you can try it on an inconspicuous spot to make sure it will apply and peel off without damage.
The tree was very easy to put up on the wall, although I did require a ladder…when installed, the tree measures 2m (h) x 0.7m (w) at the widest point.
Apologies for the rather average image…this wall is in a very awkward place to take photos, but it will give you an idea of how it all looks!
The trick with applying the tree to the wall is to make sure it is straight before removing all the backing…but the good news is you can peel it off and make adjustments if needs be!
I applied the very top section and then stood back to see if it was straight…it wasn’t, but it was easy to peel it back and reposition.
And make sure you keep the backing for when you take the tree off the wall, and want to store for future Christmases…don’t throw it out!
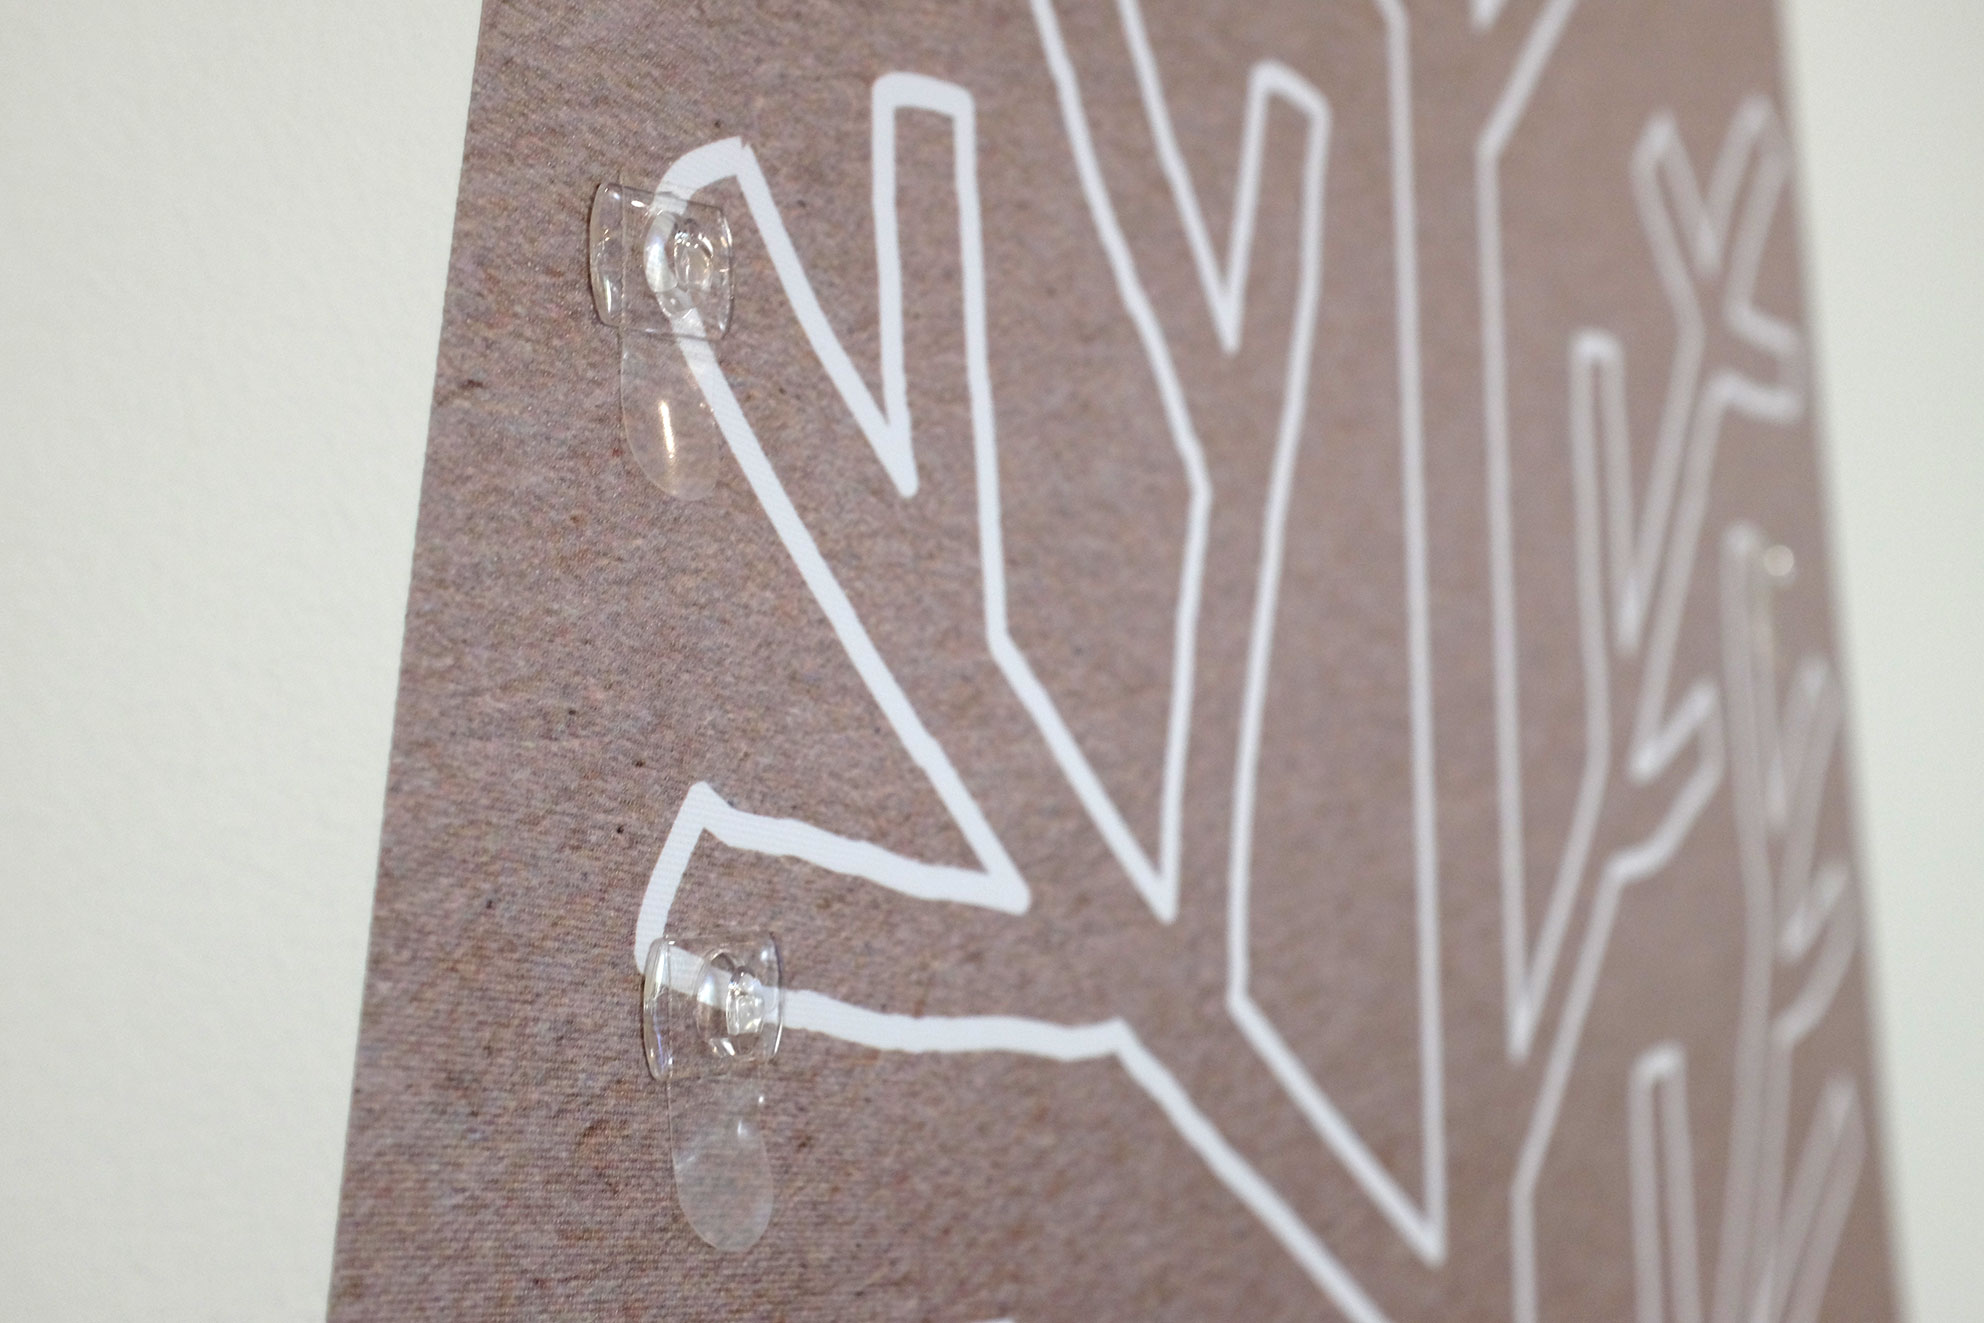
Next step was to apply the clips for the baubles and lights…you can either follow their guide for placements, or be creative and do your own…I went with their suggestions!
The instructions advised to wait an hour before hanging the lights and baubles…I ended up leaving this next step for a couple of days, as life got a little busy!
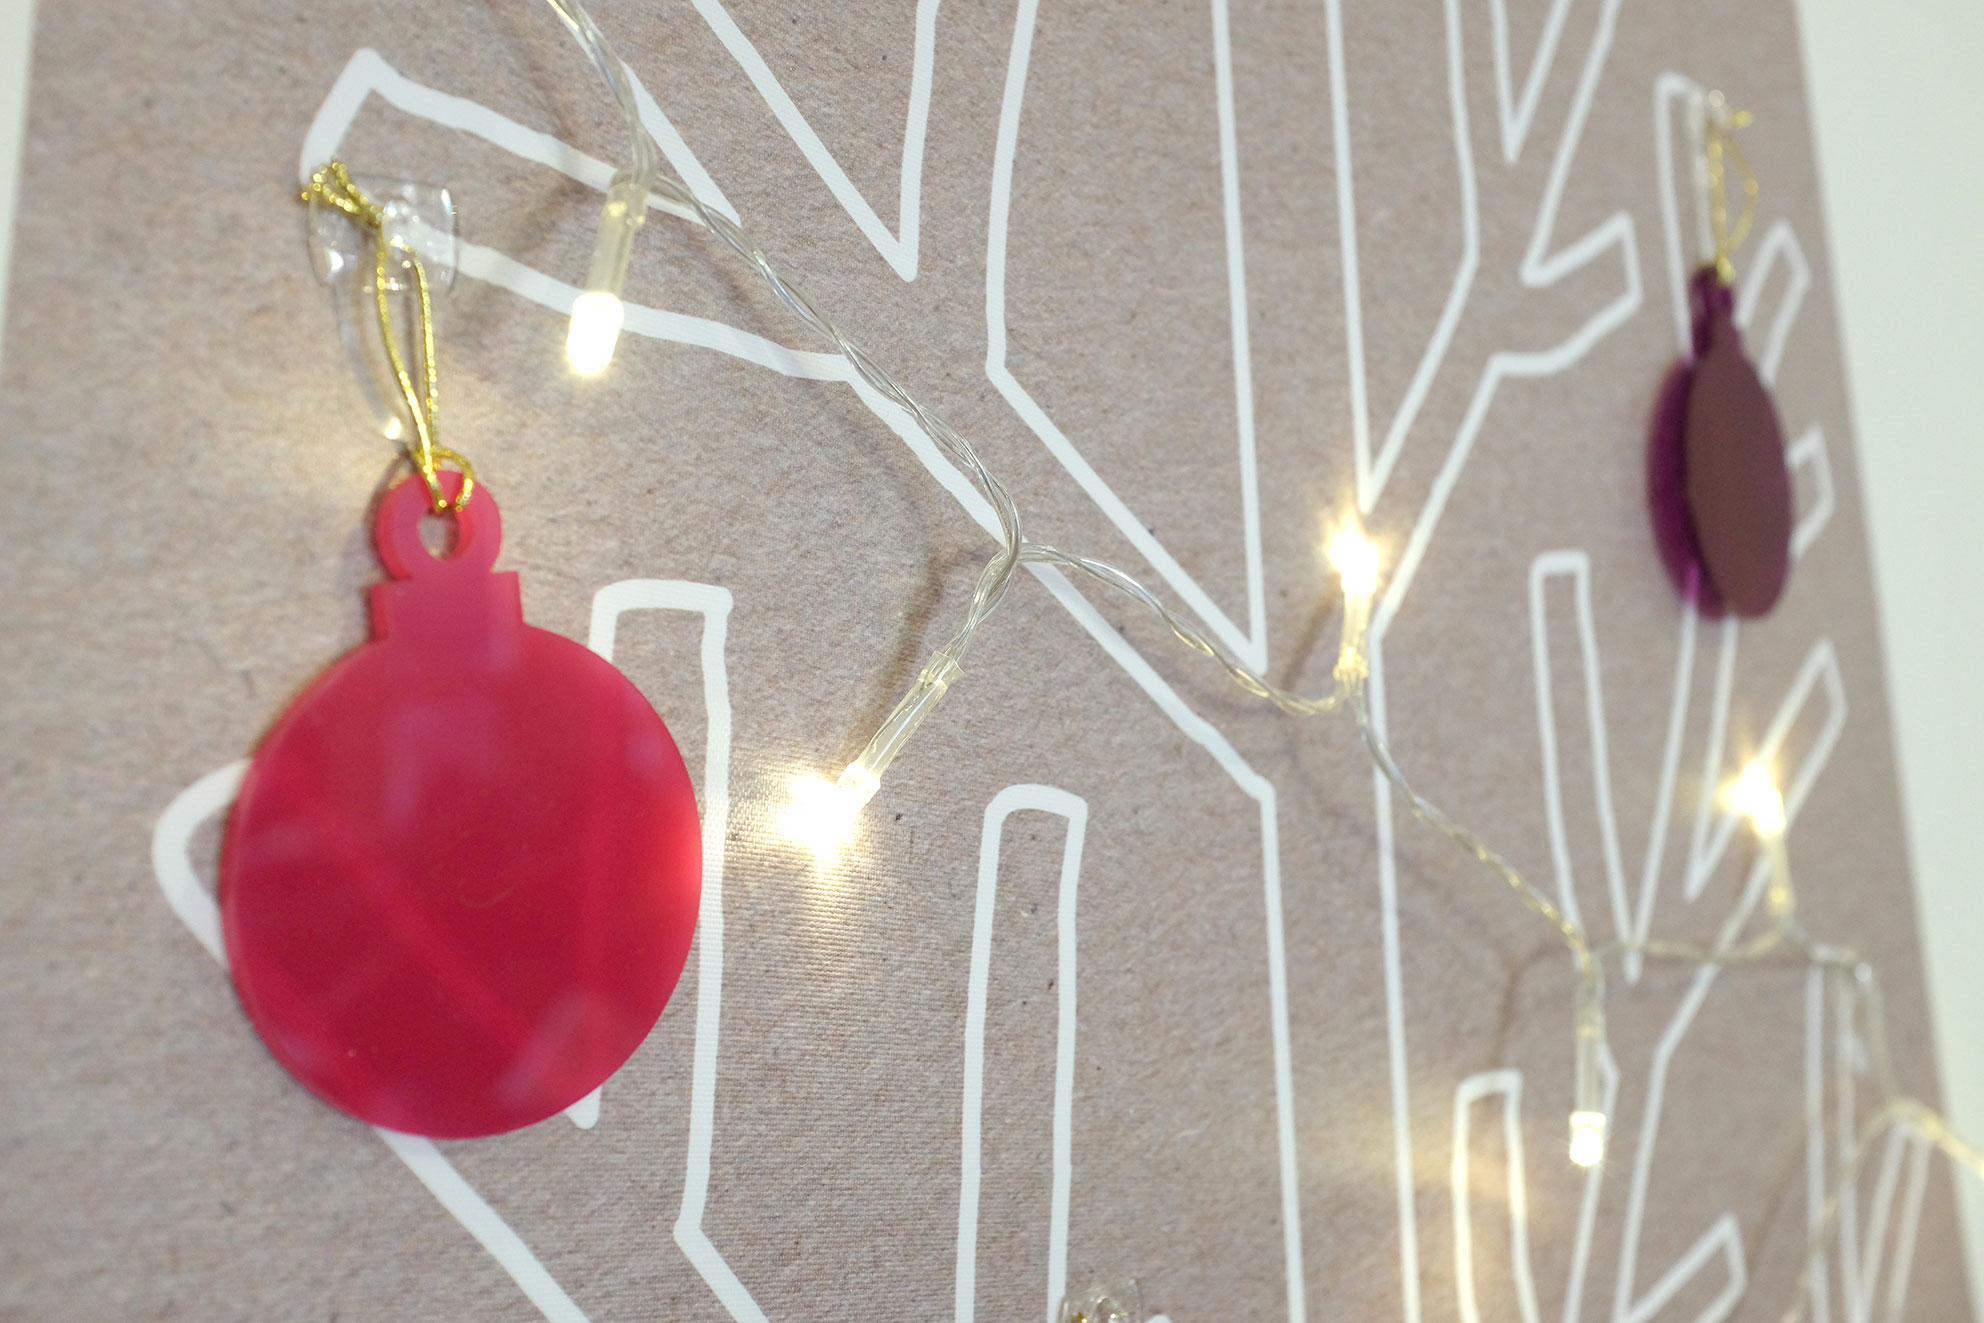
However, I did hit a snag getting the Perspex baubles ready…you have to peel off the protective layer, and for the life of me, I could not get those layers off.

Thankfully my husband came to my rescue, and he was eventually able to peel them off…would have made it easier if there were tabs to grab.
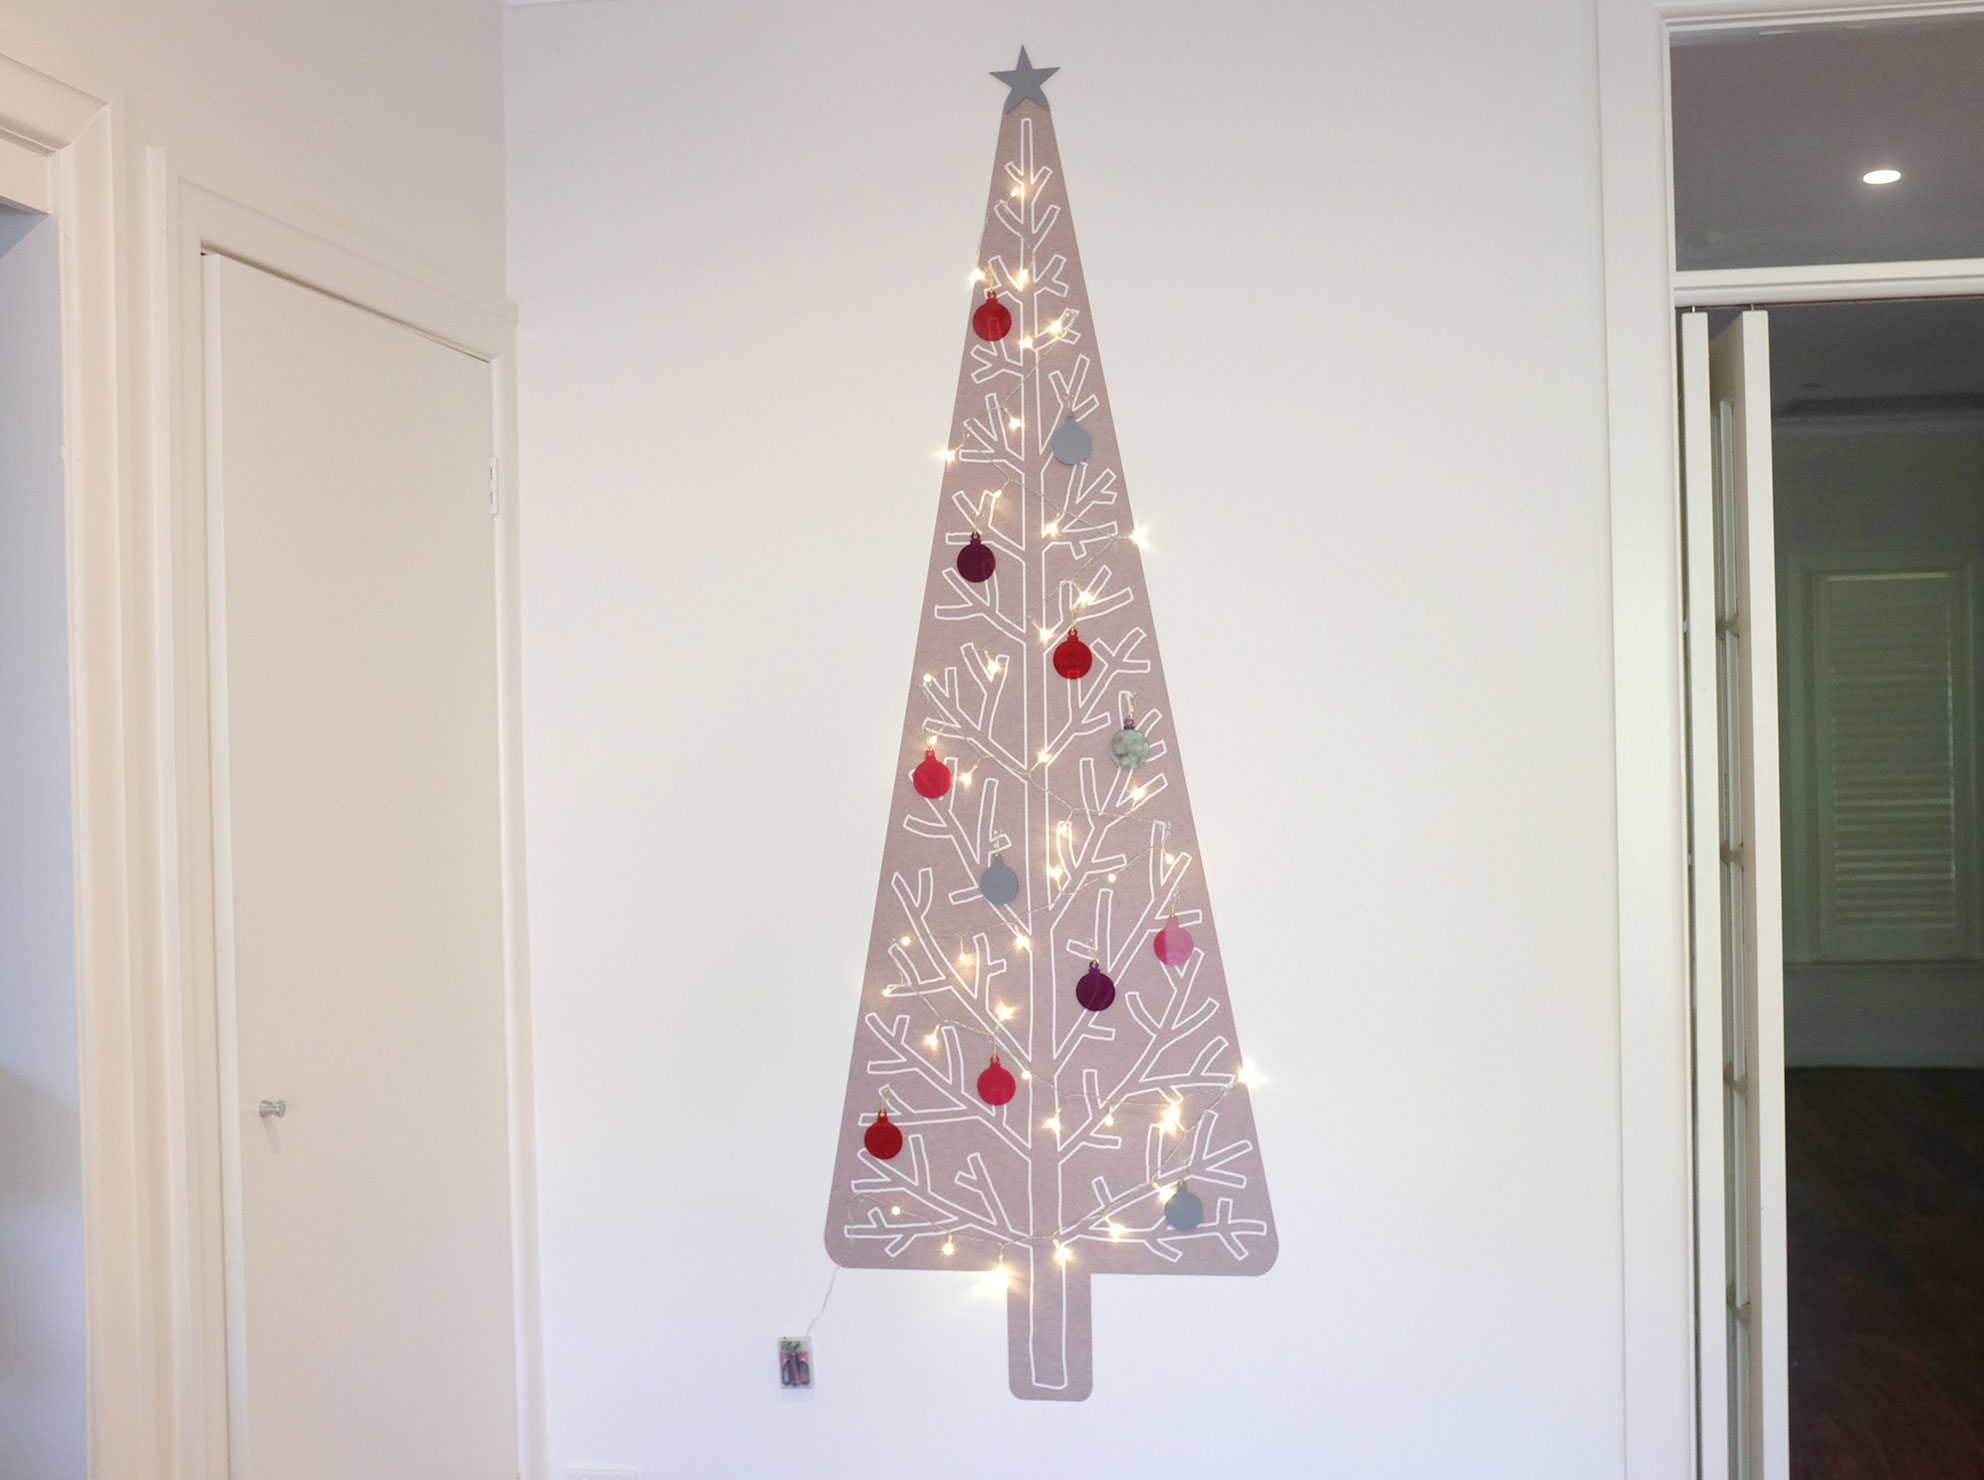
With that crisis over, it took next to no time to hang everything on the tree….it was decorated with no fuss at all!
If you are creative, you could decorate the baubles to make the tree uniquely your own, or even make your own flat baubles to hang.
There is one issue with the battery pack of the lights which hangs down the bottom, so it’s worth allowing for this when choosing where to put the tree, as it looks best if it is hidden.
I put ours a little higher up on the wall, so I can add a small table underneath, to hide the battery pack, and stop the furkids from grabbing it…
The fact that these trees are so easy to put up, and pull down, makes them perfect for taking away with you if you don’t spend Christmas at home.
They are perfect for small spaces where there isn’t enough room to set up a stand alone tree….all you need is an empty wall!
And when Christmas is over, it’s just a matter of removing the baubles and lights, and carefully peeling the decal off the wall, re-applying the backing and it is ready to be stored till next Christmas!
The Zinc Moon 2014 Christmas Tree is now done!
To find out more about Treekandi, click here to go to the website.
I actually bought my Treekandi from the online store, Hard to Find...AUD$99 with free shipping!
Please note: this is not a sponsored post! My opinions are, as always, totally my own!
Sarah Doxey Cox
What a fabulous festive and totally quirky idea. I love your quirky christmas tree from last year too. Can’t wait to see what you come up with next year, or is this it now :-). Thanks for sharing xx
So cool!!